Mix & Master
How to mix a song in Logic Pro, step by step
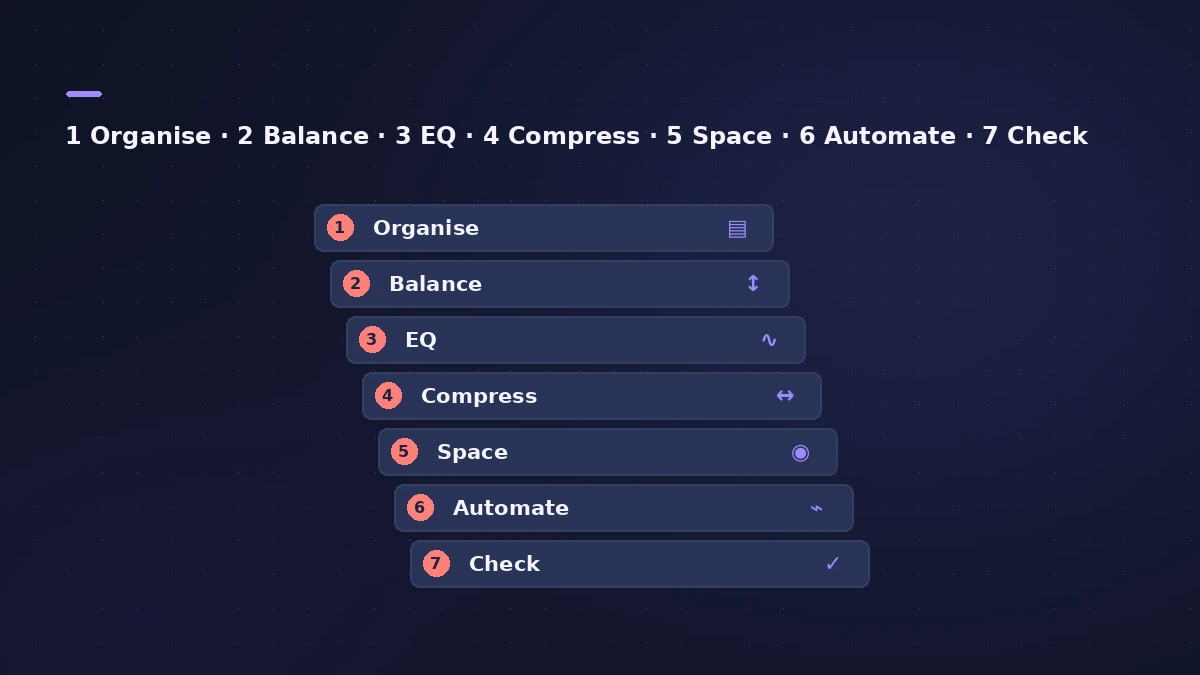
A mix is a series of small decisions in a sensible order: get organised, balance the faders, clean up with EQ, control dynamics, add space, then automate the moments that need it. Logic Pro's stock plug-ins cover every step. This workflow links to a detailed guide for each one.
 Owen Hartley

Where to find it
Mixer (Window > View Mixer, Command-2)
Detailed guides for each step
| Step | Guide |
|---|---|
| Organise | Track Stacks |
| EQ | Channel EQ |
| Compression | Sidechain and parallel compression |
| Space | Aux sends and buses |
| Automation | Automation modes |
| Vocals | Mix vocals |
| Loudness | LUFS and loudness |
Freezing and buffer settings are covered in system overload.
Step by step
-
1
Organise the session
Name and colour tracks, then group related ones in Track Stacks — a Summing Stack gives drums or backing vocals their own bus.
-
2
Balance with faders and pan first
Open the Mixer with Command-2 and set rough levels and pan positions before adding plug-ins. Sound On Sound advises adjusting individual channels rather than pulling down the stereo master.
-
3
Clean up with EQ
Insert Channel EQ and use the Analyzer to find problem frequencies. Band 1 is a high-pass filter for removing low rumble from parts that don't need it.
-
4
Control dynamics
Add Compressor to parts that jump in level. Threshold and Ratio set how much is reduced; Attack and Release shape how it reacts.
-
5
Add space with sends
Put reverb and delay on aux channels and feed them with sends instead of inserting a reverb on every track.
-
6
Automate the moments
Use Touch or Latch automation to ride vocal levels, lift a chorus or move effects.
-
7
Check level and loudness
Keep the Stereo Out below 0 dB and watch the Loudness Meter. Then move on to mastering.
Common mistakes
- Starting with plug-ins before the faders are roughly balanced.
- Soloing tracks for too long — decisions should be made in context.
- Fixing clipping on the master fader instead of the channels that cause it.
When the mix is finished
Bounce a 24-bit WAV of the mix, or insert Mastering Assistant on the Stereo Out to master it inside the same project. If your Mac struggles with many plug-ins, freeze heavy tracks or raise the I/O buffer.
Sources
- Apple — Logic Pro User Guide: Create and edit track stacks in Logic Pro for Mac
- Apple — Logic Pro User Guide: Channel EQ parameters in Logic Pro for Mac
- Apple — Logic Pro for iPad User Guide: Use Compressor
- Apple — Logic Pro X 10.1 Help: Route audio via send effects (old)
- Apple Support — Control sends on faders in Logic Pro for Mac
- Apple — Logic Pro X 10.1 Help: Automation modes (old)
- Sound On Sound — Logic Pro Bouncing And Export Options (Oct 2021)
- Apple — Logic Pro for iPad User Guide: Loudness Meter
Checked November 2026. Logic ProFiles is independent of Apple; menu names can differ slightly between Logic Pro versions.
Frequently asked questions
What order should I mix in?
+
A common order is: organise, balance faders and pan, EQ, compression, reverb and delay on sends, automation, then a loudness check before mastering.
Should I mix with Mastering Assistant on?
+
Apple recommends inserting it once the final mix is done. If you change the mix later, click Reanalyse.
Related
- Place your studio monitors for mixingSet up studio monitors for mixing in Logic Pro: equilateral triangle, about 30° toe-in, tweeters at ear height, symmetrical in the room and off the desk.
- Mixing in Logic Pro for iPadMix in Logic Pro for iPad: the Fader for quick track controls, the Plug-ins area with tiles and Details view, Sends and Output views, and the full Mixer.
- Logic Pro mixing checklistA Logic Pro mixing checklist: organise and gain stage, balance and pan, EQ and compression, buses and VCAs, reference, mono check, loudness and bounce.
- Gain staging in Logic ProGain stage a Logic Pro mix: turn on pre-fader metering, set region gain and plug-in levels before the fader, keep peaks clear of clipping, leave headroom.
- The Logic Pro Mixer explainedFind your way around the Logic Pro Mixer: open it with X, switch Single, Tracks and All views, filter strip types, and learn what aux, output and VCA do.
- Direction Mixer in Logic ProUse Direction Mixer in Logic Pro to widen or narrow a stereo track, pan a stereo signal properly instead of balancing it, split by frequency and decode M/S.
- Gain plug-in in Logic ProUse Logic Pro's Gain plug-in to change level by dB, invert phase (polarity) on a snare-bottom mic, sum stereo to mono, swap left and right and adjust balance.
- Plug-ins in Logic ProGuides to Logic Pro's stock plug-ins: Compressor, EQs, limiters, Pitch Correction, Amp Designer, Pedalboard, ChromaGlow, ChromaVerb, Space Designer and delays.
- How to use Channel EQ in Logic ProLearn Logic Pro's Channel EQ: the eight bands, the high-pass and shelving filters, the Analyzer, Q-Couple and HQ mode, plus a simple workflow for cleaner mixes.
- Aux sends and buses in Logic ProSet up aux sends in Logic Pro: send several tracks to one reverb on a bus, choose pre fader, post fader or post pan, and use Sends on Faders for headphones.
- Automation in Logic Pro — Read, Touch, Latch and WriteAutomate volume, pan, sends and plug-ins in Logic Pro: what Read, Touch, Latch, Write and Trim do, how to record automation with the fader and how to draw it.
- Mastering in Logic Pro with Mastering AssistantMaster your song in Logic Pro with Mastering Assistant: insert it on the stereo output, pick a Character, adjust EQ, loudness and width, then bounce the master.