Learn Logic Pro
How to set up an audio interface in Logic Pro
Logic Pro works with any Core Audio–compliant interface — USB, Thunderbolt, FireWire or PCI. Most of the setup happens in one place, Logic Pro > Settings > Audio > Devices, where you choose the interface for input and output and set the I/O buffer size. Then you pick which input each audio track records from.
 Owen Hartley
Where to find it
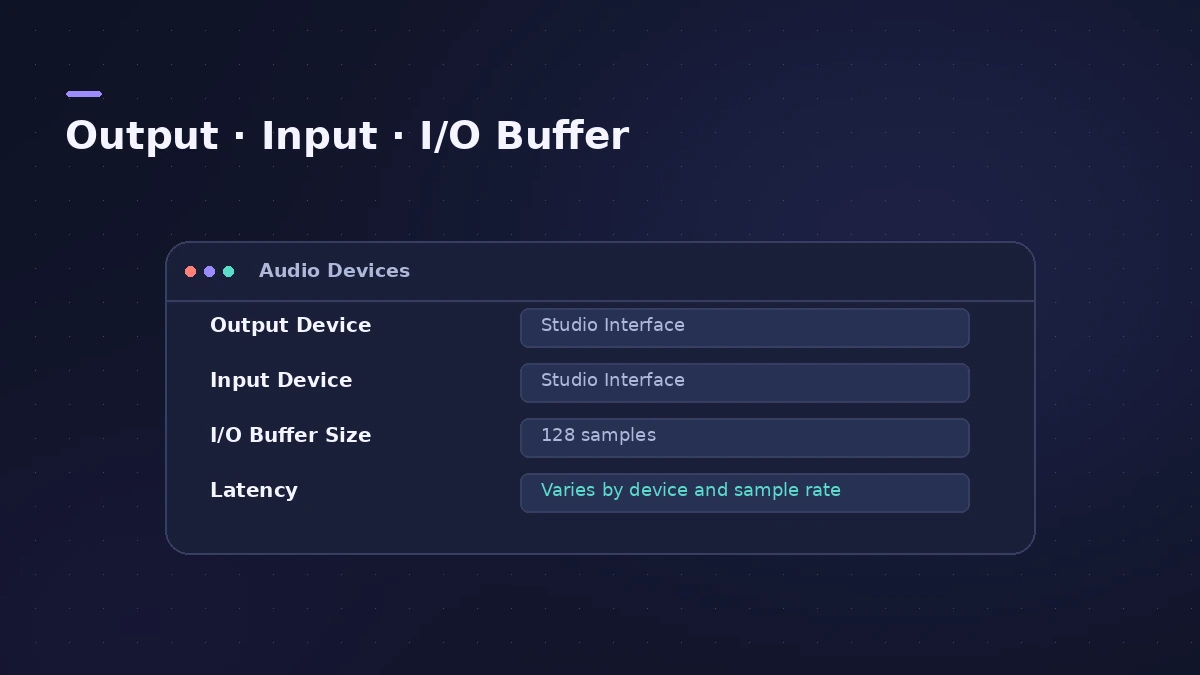
Logic Pro > Settings > Audio > Devices
How Logic Pro finds your interface
Logic Pro recognises installed Core Audio hardware automatically and starts with the defaults from the Audio MIDI Setup utility (Applications > Utilities). That's where you'd adjust an interface's sample rate outside Logic Pro or combine several devices.
Devices settings at a glance
| Setting | What it does |
|---|---|
| Core Audio Enabled | Needed to record and play audio; when off, only MIDI works |
| Output Device / Input Device | The interface used for playback and recording |
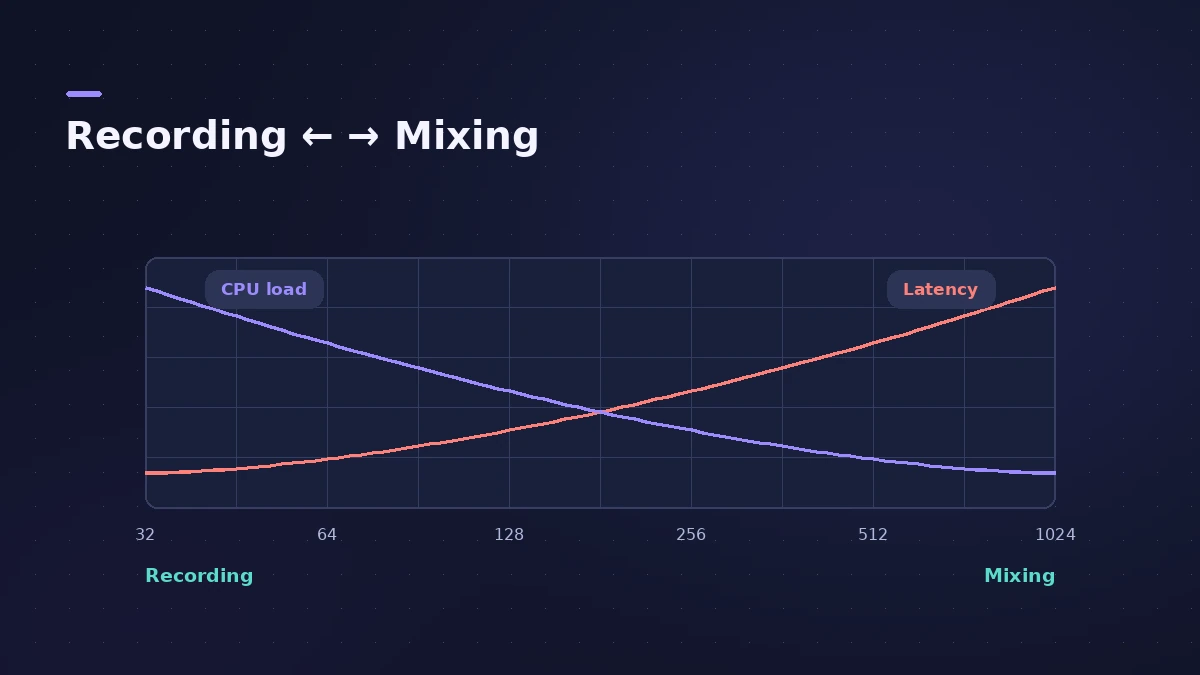
| I/O Buffer Size | Lower = less latency, more CPU load |
| Resulting Latency | Round-trip and output latency for the current buffer |
| Recording Delay | Compensates a driver delay; normally leave it alone |
| Process Buffer Range | Small (512), Medium (1024) or Large (2048) samples for playback tracks |
Next: set up the metronome and count-in, then follow the beginner tutorial to record a first song. Source-by-source guides are in Recording, starting with vocals.
Step by step
-
1
Connect the interface directly
Plug it into a USB or Thunderbolt port on the Mac. Apple's older guide advises against hubs and daisy-chaining, which can add latency. Install the manufacturer's driver if it needs one, and check that it supports your macOS version.
-
2
Choose the output and input device
Open Logic Pro > Settings > Audio > Devices and pick the interface in Output Device and Input Device. Apple recommends using the same device for both where you can.
-
3
Set the I/O buffer size
A smaller I/O Buffer Size gives lower latency when you record or play software instruments but loads the processor more; a larger one suits mixing. The Resulting Latency display shows what you'll get. Click Apply Changes if Logic Pro asks.
-
4
Allow microphone access
If an Allow Access button appears in the Devices pane, click it and turn on Logic Pro in the Microphone privacy settings — without it, Logic Pro can't record from any input.
-
5
Pick an input for each audio track
Select an audio track and choose the interface input (Input 1, Input 2 and so on) in its channel strip. Turn on Input Monitoring in the track header to hear yourself while you record.
Common mistakes
- Using one device for input and another for output — Logic Pro then asks for a shared word clock.
- Leaving a large buffer while recording, which makes monitoring lag.
- Connecting through a USB hub instead of directly to the Mac.
Still no sound?
Work through no sound in Logic Pro for output problems, microphone access if recording stays silent, and latency fixes if your monitoring is delayed.
Sources
- Apple — Logic Pro User Guide: Using audio devices with Logic Pro for Mac
- Apple — Logic Pro User Guide: Devices settings
- Apple — Logic Pro X 10.1 Help: Connect an audio interface (old)
- Apple — Logic Pro X 10.1 Help: Record audio (old)
- Apple Support — Manage input monitoring latency in Logic Pro for Mac
- Apple — Logic Pro User Guide: What's new in Logic Pro for Mac 12
Checked November 2026. Logic ProFiles is independent of Apple; menu names can differ slightly between Logic Pro versions.
Frequently asked questions
Do I need an audio interface for Logic Pro?
+
Not to start. Logic Pro can play through the Mac's built-in output and you can work with software instruments only. You need an interface to record microphones and guitars with good quality and low latency.
What buffer size should I use?
+
Go as small as your Mac handles without clicks while recording, and raise it when you mix. Apple notes smaller sizes increase processor load.
Where are Process Buffer Range and Recording Delay?
+
In the same Devices pane. Before Logic Pro 12 they appeared only with Enable Complete Features on; from 12 every feature is always shown.
Related
- Choosing an audio interface for Logic ProWhat to look for in an audio interface for Logic Pro: class-compliant drivers, enough inputs, phantom power for condenser mics, direct ports and latency.
- Use two audio interfaces in Logic Pro with an aggregate deviceCombine two audio interfaces or USB mics into one aggregate device in Audio MIDI Setup, set the clock source and drift correction, then select it in Logic Pro.
- Audio MIDI Setup on Mac for Logic Pro usersUse the Mac's Audio MIDI Setup app with Logic Pro: set an interface's sample rate and bit depth, configure speakers, add MIDI devices and test MIDI connections.
- dBFS to dBu calculatorConvert dBFS in Logic Pro to dBu and volts for your interface's calibration (0 dBFS = +18 or +24 dBu) and see where +4 dBu line level sits on the meter.
- Use an audio interface or MIDI keyboard with Logic Pro for iPadConnect an audio interface, mic or MIDI keyboard to Logic Pro for iPad: Autoselect picks the device; App Settings > Audio sets inputs, outputs and buffer.
- Gear for Logic ProGear for Logic Pro in 2026: which Mac or MacBook to buy, how much RAM you need, moving the Sound Library to an SSD, control surfaces, Logic Remote and Sidecar.
- Best MacBook for Logic Pro in 2026Best MacBook for Logic Pro in 2026: MacBook Neo for beginners, MacBook Air M5 for most, MacBook Pro M6 or M5 Pro/Max for big sessions. Ports, memory and prices.
- Recorded audio out of sync in Logic ProRecorded audio lands early or late in Logic Pro? Reset the Recording Delay slider to zero, try Low Latency Mode and measure the offset with a loopback test.
- Audio interface not showing in Logic ProAudio interface missing from Logic Pro's device menu? Check System Information and Audio MIDI Setup, install the driver, test built-in audio.
- Logic Pro metronome and count-inTurn the Logic Pro metronome on with K and the count-in with Shift-K, choose when it clicks, set the count-in length and change the click in Project Settings.
- No sound in Logic Pro — 10 fixes, quickest firstNo sound in Logic Pro? Check the output device, Core Audio, mute and solo, the metronome and plug-ins, then test built-in audio to rule out the interface.
- Logic Pro latency — how to fix delay when recordingHearing a delay when you record in Logic Pro? Lower the I/O buffer, turn on Low Latency Monitoring Mode, use direct monitoring and avoid Bluetooth headphones.
- Logic Pro not recording audio — 9 fixes to tryLogic Pro won't record audio from your mic or interface? Check microphone access, the input device, record-enable state, unique inputs and the recording format.
- Learn Logic Pro — tutorials for beginnersLearn Logic Pro on Mac: a beginner tutorial, the interface, the Logic Pro 13 Browser, audio interface setup, key commands, loops, patches and saving projects.