Recording
How to punch in and out in Logic Pro
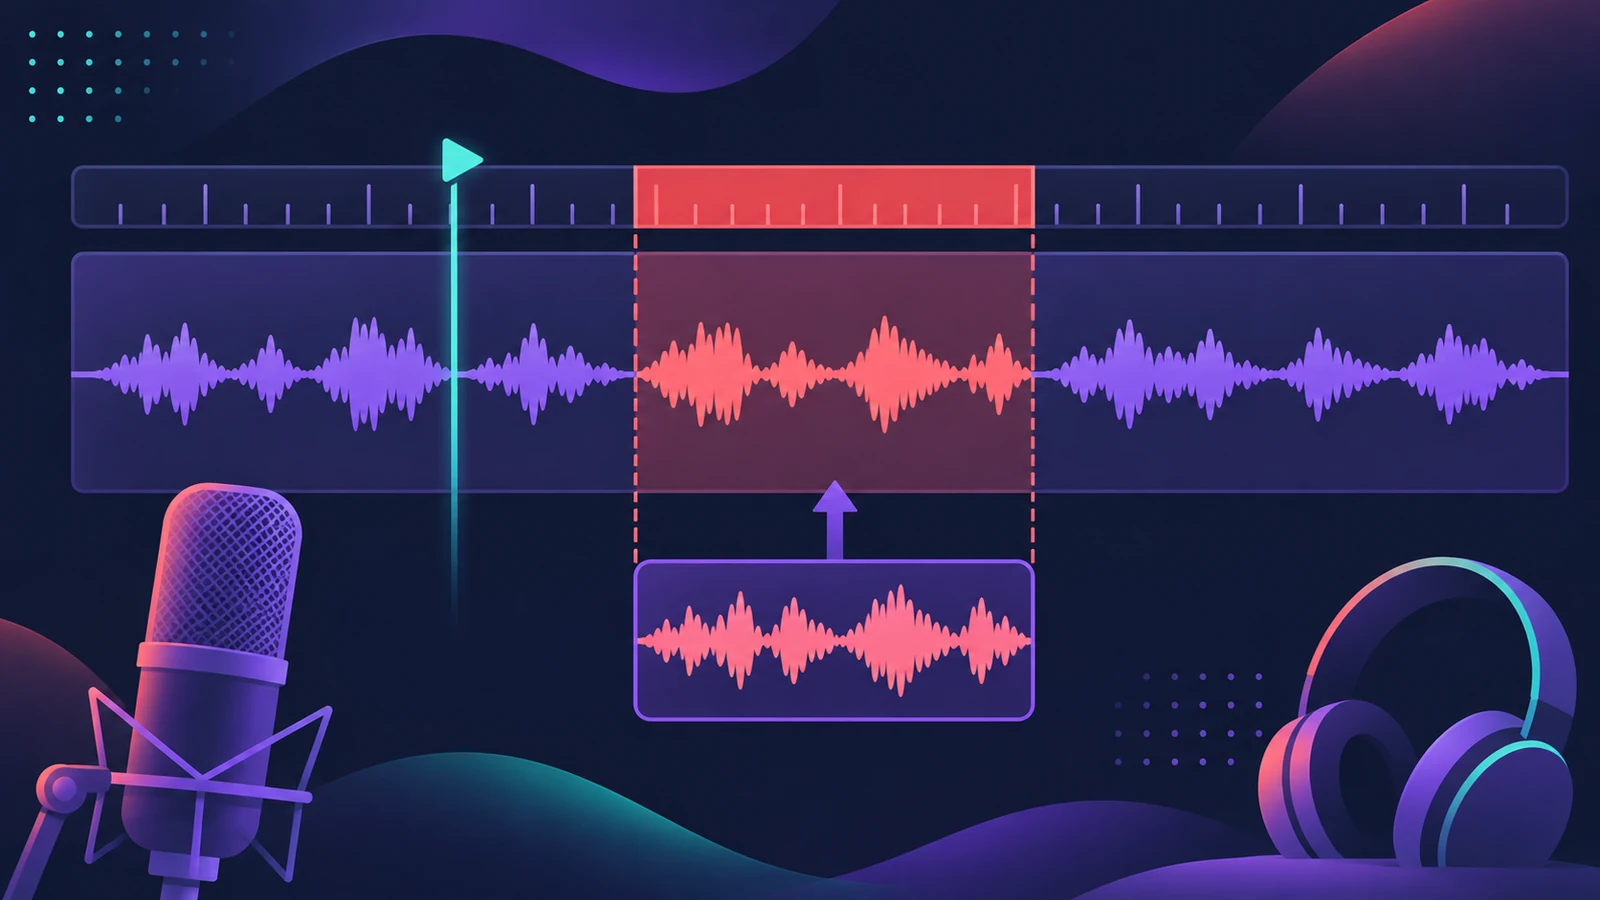
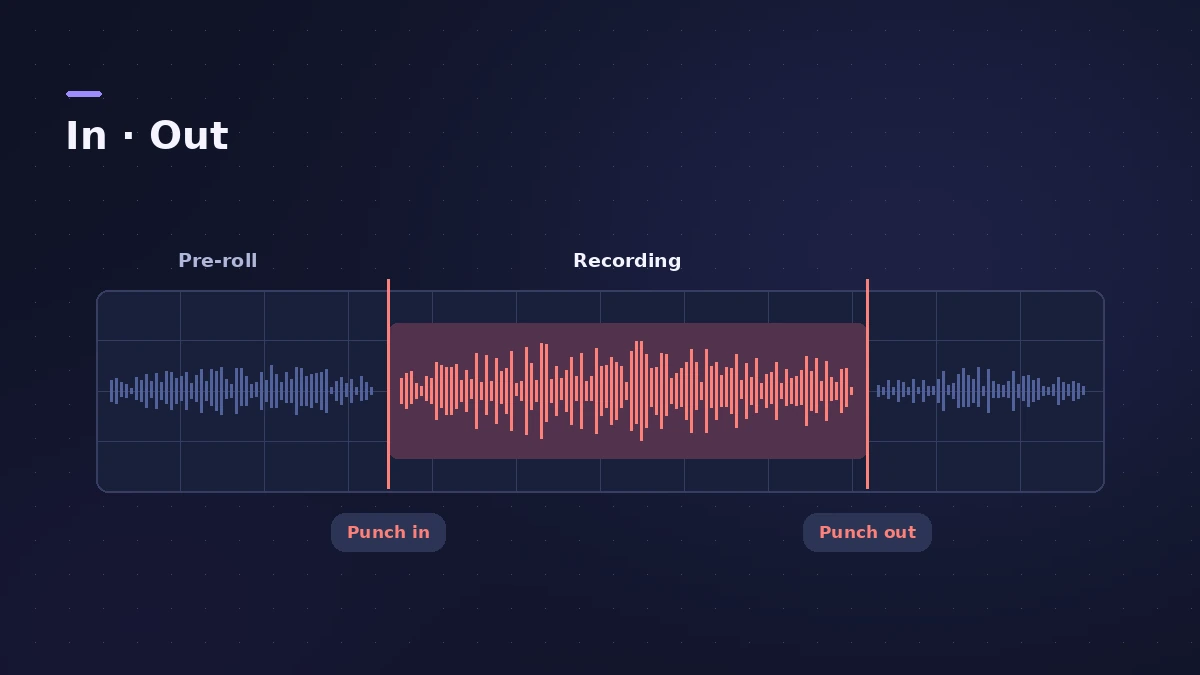
Punch recording replaces just one section of a take. With Autopunch you set punch-in and punch-out points in the ruler, start playback before them and Logic Pro records only between them — so you can concentrate on playing. With Quick Punch-In on, you can drop into recording on the fly without a gap.
 Owen Hartley
Where to find it
Autopunch button in the control bar
Monitoring while you punch
Auto Input Monitoring lets the performer hear the existing track up to the punch-in point and their live input while recording. Find it in the Record menu.
Step by step
-
1
Turn on Autopunch
Click the Autopunch button in the control bar (add it by customising the control bar if you don't see it). A red autopunch area appears in the ruler.
-
2
Set the punch points
Drag the edges of the red area so it covers only the part to replace.
-
3
Start before the punch-in
Place the playhead a few bars earlier so the performer hears the lead-in, arm the track and press R.
-
4
Perform and stop
Logic Pro records only inside the autopunch area. Stop after the punch-out point.
-
5
Compare with the original
The new recording and the original sit in a take folder, so you can switch back if the punch doesn't match.
Common mistakes
- Punching in on a breath or note that starts before the punch point.
- Changing the mic or level between the original and the punch-in.
- Forgetting Auto Input Monitoring, so the singer hears the old take while recording.
Quick Punch-In
With Record > Allow Quick Punch-In on, Logic Pro records in the background from the moment you start playback, so switching into recording is seamless. Apple's older guide notes that punch recording needed Show Advanced Tools; from Logic Pro 12 every feature is always available.
Sources
- Apple — Logic Pro X 10.4 Help: Punch in and out of audio recordings (old)
- Apple — Logic Pro 9 manual: Audio punch recording (old)
- Apple — Logic Pro 9 manual: Enabling software monitoring for recording (old)
- Apple — Logic Pro 9 manual: Audio take recording (old)
- Apple — Logic Pro User Guide: What's new in Logic Pro for Mac 12
Checked November 2026. Logic ProFiles is independent of Apple; menu names can differ slightly between Logic Pro versions.
Frequently asked questions
What's the difference between Autopunch and Quick Punch-In?
+
Autopunch uses preset punch-in and punch-out points. Quick Punch-In lets you switch into recording during playback without a dropout.
Does Logic Pro record before the punch-in point?
+
Apple's older manual says recording starts about a bar early in the background so you can adjust the region start later; only the autopunch area is used.
Related
- Replace mode recording in Logic ProRecord over an old take in Logic Pro with Replace mode: Region Erase, Region Punch, Content Erase and Content Punch for audio, and replacing MIDI parts.
- Cycle recording and take folders in Logic ProRecord several takes of one section in Logic Pro: set a cycle area, choose Create Take Folder, record multiple passes, then preview takes and comp.
- How to record vocals in Logic ProRecord vocals in Logic Pro: set up the mic and pop filter, arm an audio track, set the level, monitor without delay and record several takes to comp later.
- Flashback Capture — recover takes you didn't recordUse Flashback Capture in Logic Pro to recover MIDI or audio you played without recording: how it works, what it needs, cycle takes and the limits for audio.
- Recording in Logic ProHow to record in Logic Pro: vocals, electric and acoustic guitar, bass, drums and MIDI, plus cycle takes, punch-in, Flashback Capture and step input.