
Fix a problem / Mac
Logic Pro clicks, pops and distortion: separate overload from damaged audio
Quick answer
Turn monitoring down to a comfortable level and reproduce one short passage. Does the click stay at the same edit or move around with playback load? Check clipping and device state separately from CPU or disk overload. Compare a simple project and one buffer change before editing audio or changing the whole session.

Match your symptom
| What happens | First check |
|---|---|
| Clicks move around under load | Compare buffer and performance conditions |
| A click repeats at exactly the same edit | Inspect that region boundary or source |
| Distortion follows a high meter or processing stage | Find the stage that clips or distorts |
| Noise appears only with one interface | Compare the built-in device path |
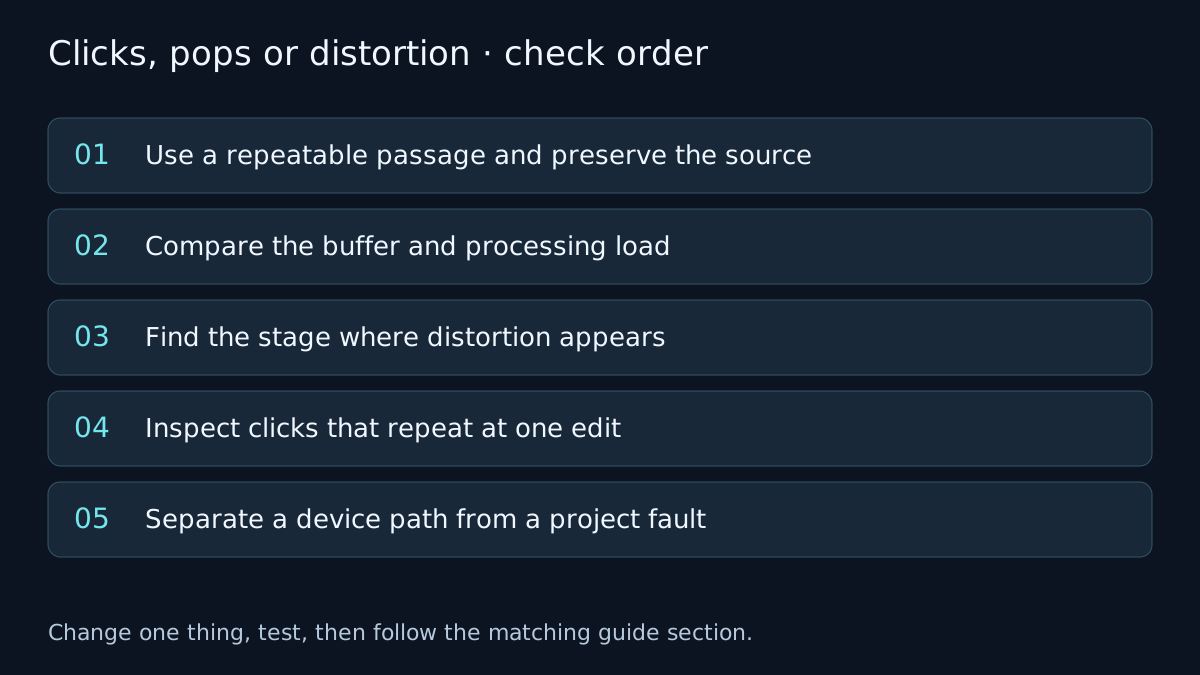
Use a repeatable passage and preserve the source
Loop or replay the same short passage and note whether the problem occurs at an identical position. Also note whether it is present in a test export. A repeatable click in the source, a playback dropout and nonlinear processing are different failure types.
Work on a copy before any file-destructive repair. Avoid repeatedly playing unexpected loud noise at normal listening level. Start with a conservative monitor level while locating the fault.
Compare the buffer and processing load
For irregular playback clicks, try one larger I/O buffer setting in Logic’s Audio Devices settings and replay the same passage. Apple documents the trade-off: a very small buffer can produce clicks and crackles when the processor cannot keep up.
Record the before-and-after result. If the symptom improves, inspect the live track, demanding plug-ins and disk activity using the overload diagnosis. A larger buffer adds monitoring delay; choose a suitable recording setup afterward using the latency guide.
If a buffer change makes no difference, put it back before comparing another cause. Do not treat more RAM or a reinstall as a proven solution based on the sound alone.
Find the stage where distortion appears
Compare the source, track processing, auxiliary processing and output in sequence. A clean recording can be distorted by a later insert or gain stage. A quieter output does not remove distortion already printed into a recording or created earlier in the path.
Bypass one suspected processor in a test copy, listen at a comparable level and replay. Also inspect the interface input level if the fault was recorded. Leave creative saturation choices intact unless the comparison identifies them as the unintended sound.
Inspect clicks that repeat at one edit
Listen around the region boundary and inspect the waveform. A discontinuity or an abrupt cut may need a suitable fade or edit adjustment, rather than a new audio-device setting. Compare the original media to determine whether the click is already in the file.
Make a separate audio copy before destructive file editing. Do not draw over the only original recording merely because the click is visible. After a local edit, verify that it did not remove the intended attack or change timing.
Separate a device path from a project fault
Compare a simple project through the Mac’s built-in device and the normal interface. If the issue follows one device, inspect its supported driver, connection, sample rate and clock setup. If it is accompanied by a synchronization alert, follow audio/MIDI sync troubleshooting.
A working built-in comparison points toward that signal path; it does not prove which cable, driver or hardware component failed. Keep the test conditions and report the exact result to the device manufacturer.
Verify the fix
- Replay the same passage several times under the intended load.
- Check a short bounce outside Logic if the fault previously appeared in exported audio.
- Restore an appropriate recording buffer and confirm the solution still works.
If the result changes, note which check changed it. If it does not, undo the test where appropriate and follow the next relevant branch. A failed test narrows the problem; it does not identify a component with certainty.
Frequently asked questions
Does every crackle mean the buffer is too small?
No. Clipping, a recorded defect, an edit boundary, processing or the device path can also produce unwanted sound.
Will reducing the master fader remove recorded clipping?
It makes the signal quieter but does not repair distortion already captured or produced earlier in the path.
Related guides
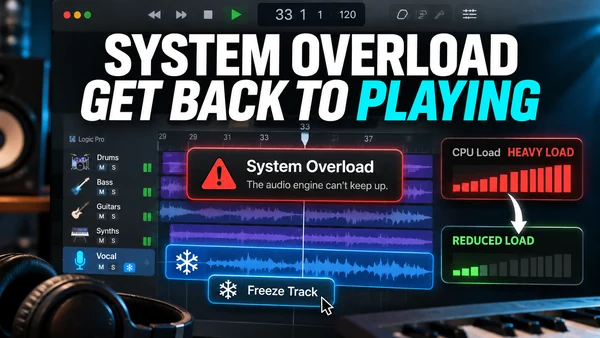 Fix
Logic Pro system overload: how to fix the error (-10011)
Fix the Logic Pro System Overload alert with Apple's steps: I/O Buffer Size, Process Buffer Range, Multithreading, Performance Meter, freeze tracks and sends.
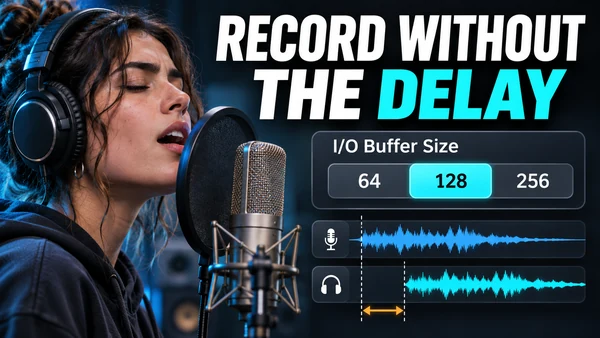 Fix
Logic Pro latency: buffer size table and how to get the delay down
Reduce Logic Pro latency: buffer-size table in ms at 44.1 and 48 kHz, Low Latency Mode, Software Monitoring vs direct monitoring, plug-in delay compensation.
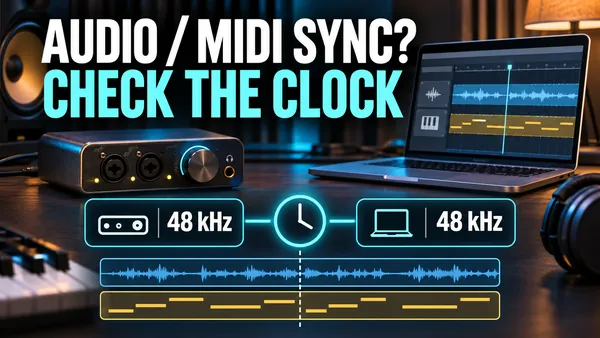 Sound & recording
Audio / MIDI sync error
Troubleshoot “Error while trying to synchronize Audio and MIDI” in Logic Pro by separating sample rate, clock, aggregate-device and processing issues.
Choose a guided check · All troubleshooting topics · Search every guide
Sources and version notes
Based on Apple documentation; reviewed 8 November 2026. This is a documentation review, not a claim of hands-on testing on every Logic, macOS or interface version. Archived guides are labelled; confirm menu names in the help for your installed release.